2022 Strawberry and Blackberry in Detail
Last updated 10/05/2022
I’m giving the “in Detail” treatment to the Finer Wine Kits Frutta Strawberry and Blackberry kits. Why? For three reasons:
- These kits are yet another departure from normal, no matter how slight, so it may be of interest to others.
- Comparing the two kits side-by-side may be interesting, especially as the Strawberry kit includes carbon and bentonite, while the Blackberry doesn’t.
- I like writing these blogs.
If nothing else, this fully documents the process.
Dates of Activity
| 06/03/2022 06/04/2022 06/05/2022 |
06/06/2022 06/07/2022 06/18/2022 |
10/05/2022 |
06/03/2022
The kits arrived today at 5 PM, and I started them at 8:45 PM. As expected, the contents are well labeled. The following picture is the Blackberry, which differs from the Strawberry in that the Strawberry contains bentonite and carbon while the Blackberry does not.
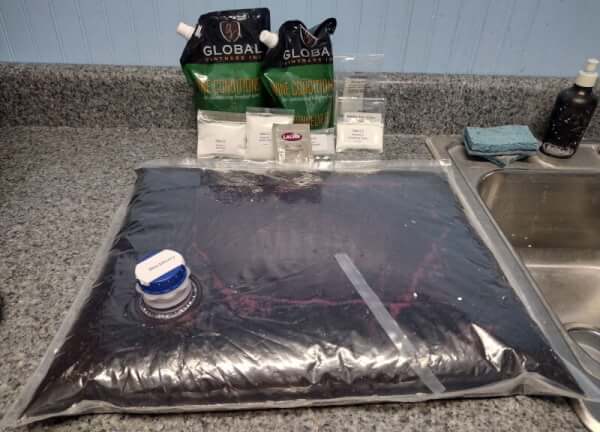
I was a bit surprised, as both kits include 2 sweetening bags. That seems like a LOT of sugar, but to be fair, Eric and I strongly favor dry wines, so when we backsweetened his Riesling, we only used 6 oz of the bag.
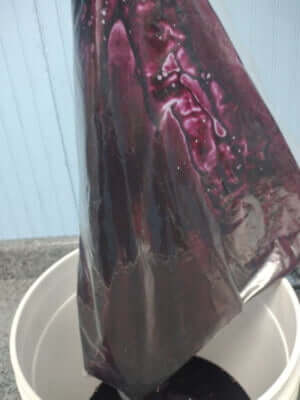
As mentioned, the Strawberry includes bentonite and carbon, because the Strawberry is lighter in color and subject to noticeable browning. The Blackberry is very dark so any browning, which is cosmetic, will not show.
The instruction books also surprised me — the Blackberry includes the Frutta book. Ok, that makes sense.
OTOH, the Strawberry includes the Tavola Whites, Blushes, and Roses book. My first thought was someone really screwed up. But in reading them, the reason is obvious — the Frutta book matches the contents of the Blackberry kit correctly. The Tavola Whites book includes instructions for the bentonite and carbon. This is confusing for beginners — I puzzled it out, but I’ve also been a participant in numerous conversations on WMT regarding the FWK, so it quickly made sense to me.
One member received a Kiwi kit last night, and it included the Frutta book and also included the bentonite and carbon. I explained that he had the wrong book, and he had it pretty much puzzled out anyway.
This is a customer service issue for FWK and LabelPeelers. They strive to provide good customer service, and this is growing pains for them — that and LP is pumping out hundreds of kits due to the BOGO sale on FWK which was to clear the warehouse for the 2022 kits that should be arriving soon.
Anyway, on to the kits.
The Blackberry concentrate is at 72.7 F, which is fine. I diluted to 23 liters and the SG is 1.091. This one looks good.
My process includes stirring with a drill-mounted stirring rod several times during the filling process. I’m using tap water, which for me is well water. It’s a bit on the hard side and slightly acidic, but I’ve been successfully making wine with this water for 27 years.
The Strawberry process is a bit different. I dissolved the bentonite and carbon in 1 US gallon of water and let it set for 10 minutes. Supposedly the bentonite and carbon bond, which helps with clearing. Then I added the concentrate, which had a few thick spots, and diluted to 23 liters. The SG was 1.102, which is high. I expect the must to meld better overnight, so in the morning the SG should be lower.
Finally I created the yeast starters by adding 1 cup warm (95 F) water to a clean and sanitized wine bottle, then swirled in the yeast (Lalvin K1-V1116) and nutrient Packet B. This will sit on the counter overnight.
06/04/2022
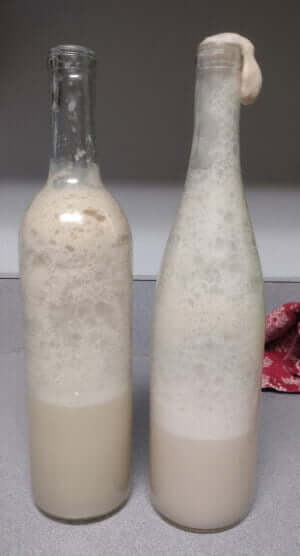
By 8 AM, both starters foamed up really well, filling the bottle with foam. These overnight starters work amazingly well. The initial temperature (mid-90’s F) is more ideal for the yeast, which likes warmer. Wine does better with cooler temperatures (60’s and 70’s F), but the initial temperature helps the yeast multiply, so the colony introduced into the wine is much larger. By the time the next morning rolls around, the starter has dropped to room temperature, so the yeast is acclimated to the wine’s temperature.
When I checked the Blackberry, the must level was 3/4″ too low. Last night the sprayer I used to add water produced a bit of foam, and I couldn’t be sure of the level, so I stopped early so I’d not overflow. I checked the SG and it was 1.101, which is a bit high.
I increased the volume to 23 liters stirred well, and checked again — 1.095. That’s better, but I will check again this afternoon after the must has time to meld better.
In any case, I inoculated by pouring the starter gently down the inside of the fermenter.
The level of the Strawberry was fine, and the SG is 1.100, which is still high. Again, I inoculated. I’ll check SG later this morning.
Update 2PM:
I checked the SG, the Blackberry is 1.999 and the Strawberry is still 1.100. I will check again this evening, and tomorrow morning as well.
Update 7PM:
I checked the SG again; both wines are unchanged so I’m accepting the current figures as accurate.
On the plus side, while I see no activity, I can smell fermentation. We have ignition!
06/05/2022
When I walked near the door to the cellar, I could smell fermentation, so I know things are progressing! Last night’s indication of “ignition” was correct!
Actually, from the amount of aroma, I’m guessing the ferment has kicked into high gear! After walking down the stairs I have to go through one room to get to the winemaking area, so it takes a fair amount of aroma to be fragrant upstairs.
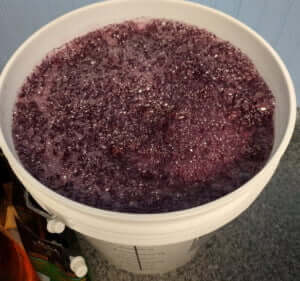
When I took the towel off the Blackberry’s fermenter, the foam shows very large bubbles with flecks of fruit on the skins. The first picture shows what the blackberry looks like 24 hours after inoculation.
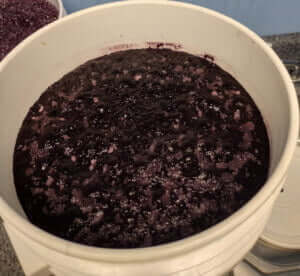
Note that this is a 7.9 gallon fermenter (30 liters) filled to 23 liters, which is the proper reconstitution level for the kits. The foam is within 2 inches of the top of the container.
Always, always, always ensure the primary fermenter is no more than 75% full when starting a wine. Wine can foam up quite a bit, and it’s disheartening to lose wine because it overflowed the container.
The second picture is the Strawberry. The black is flecks of carbon, which the Blackberry does not have.
The Strawberry didn’t foam up as much, but it may be that the carbon reduced the foaming.
I tried to take an SG reading on both, but after several tries, the amount of foaming made it impossible to get an accurate reading. At this point it doesn’t matter, so I’m not worrying about it.
06/06/2022
The two wines are foaming differently this morning. The suds (large bubbles) on the Blackberry subsided and it had fine shimmer on the surface. In contrast, the Strawberry still has suds.
Every ferment his different, so it’s impossible to say why. Could be the carbon, or maybe not …
I was unable to get a SG reading on either wine this morning, as the foaming is too great. I have solid activity in both, and am guessing fermentation is about 1/3 done. It doesn’t matter at this point what the exact SG is, as long as I have activity.
This morning I added nutrient packet C to each wine. I pour this gently, as the grains of nutrient are collection points for CO2 in suspension — the CO2 can come out of suspension, and the rapid expansion may cause the wine to “boil” over. Pouring gently gives me time to stop the addition, reducing the reaction if it’s a large one.
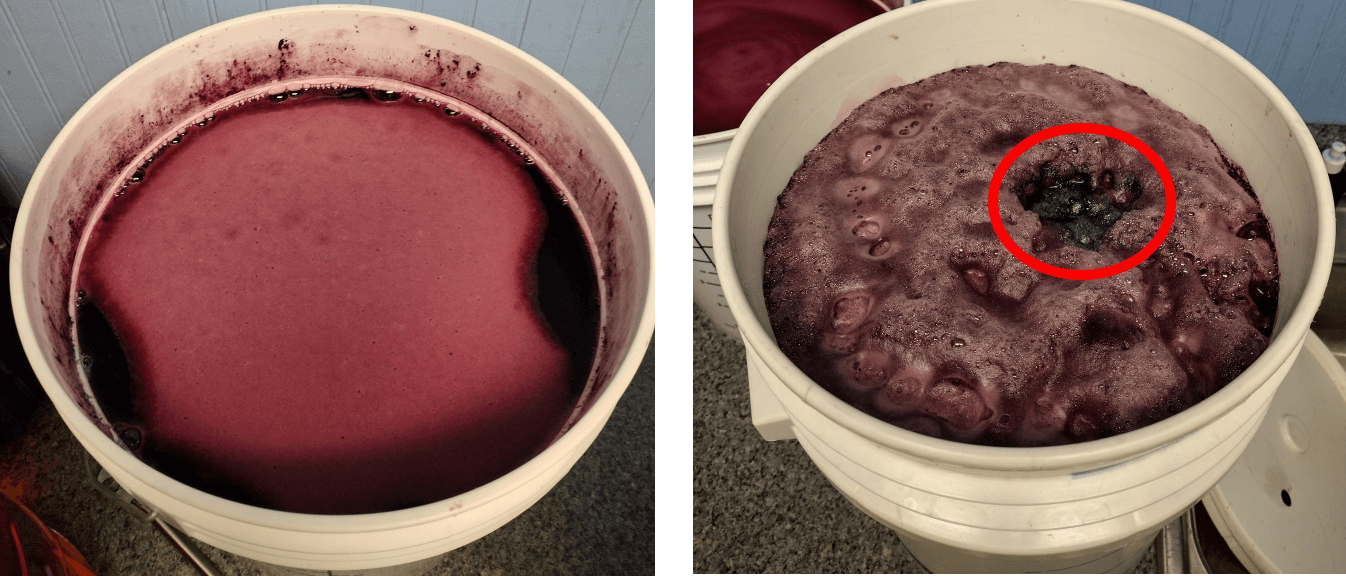
I started with the Blackberry, adding about 1/4 of the packet in a slow stream. I heard a fizzing, but saw no reaction. Feeling brave, I dumped the remainder of the packet.
This produced a louder fizzing, and a thin red foam appeared on the surface, as shown in the left photo above. This covered the entire surface but dissipated quickly — by the time I grabbed my phone and activated the camera, the foam had started to clear. Next I stirred the wine, which produced audible fizzing, but no reaction — IMO this is goodl.
Feeling more cautious with the Strawberry, I sprinkled nutrient, but it rested on top of the heavier foam. Feeling really brave, I dumped the remainder of the packet in. I had a stirring paddle in my hand, ready to fend off excess foaming.
Although I heard foaming, I saw no reaction. The circled area in the right photo above is where the nutrient hit. The foam is very stiff and stirring didn’t have any effect on it.
Note that the inside of the primaries get crusted with residue:
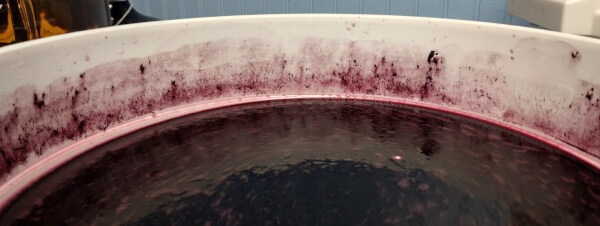
I was taught to clean this daily. I wet a clean paper towel with K-meta, and use it to wipe the residue.
This not only removes the residue, but I suspect it emits SO2 into the air, providing a bit of protection from anything airborne.
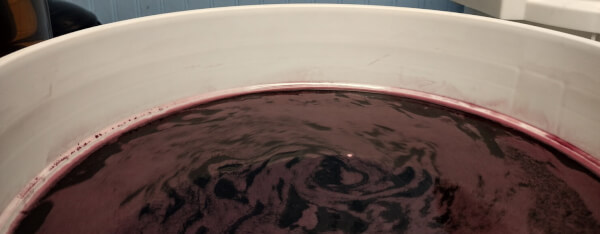
I clean as close to the wine as possible.
06/07/2022
My guess is both SG were around 1.065 yesterday morning. This afternoon the Blackberry was ~1.010 and the Strawberry was ~1.020.
Good enough to seal the fermenters. I stirred the wines, cleaned residue, sealed the fermenters, and placed airlocks. I’ll unseal them a week from Saturday.
06/18/2022
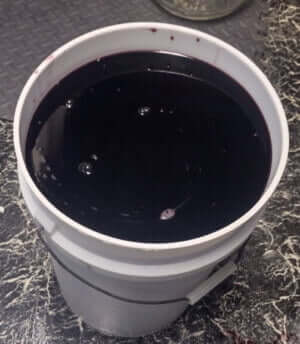
Today is unsealing day! I did the Blackberry first. The SG is 0.996, which is about what I’d expect.
This is not the first time I realized that I need to buy a couple more of the 7.9 gallon fermenters. The Strawberry is in the 7.9 gallon and this one is in the 7 gallon (which is 30+ years old). My remaining fermenter is a nominal 6 gallons (it actually holds a bit more).
Racking the Blackberry into this fermenter filled it within 2″ of the rim. I was nervous picking it up to place on the counter, but did fine.
Honestly, it makes more sense to pump the wine than it does to pick up the fermenter (even though I can safely do it), but my current pump — which is a large one designed to handle the 14 gallon barrels, is overkill for a 6 gallon kit. At some point I’ll probably purchase the All in One vacuum pump, but with accessories it’s over $300, so that’s not happening today.
My current first racking process is to start the siphon, then when there’s an inch of wine in the receiving container, add 1/4 tsp K-meta (for 5 or 6 gallons) and the kieselsol.
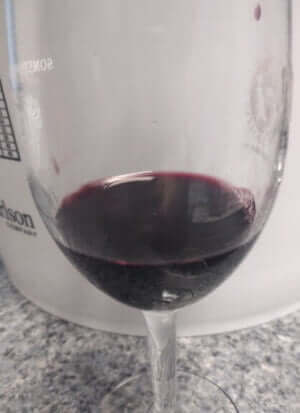
After the fermenter was on the counter, I added the chitosan and stirred. Given the fermenter is so close to capacity, I hand-stirred with a stainless steel paddle rather than use the drill-mounted stirring rod. I stirred for 2 minutes, changing direction every 30 seconds.
I’m not positive the stirring mixes anything as much as changing direction does. But in any case, it’s mixed.
I racked it back into a 4 liter jug, filling it to capacity, then filled a 5 gallon carboy. The carboy was probably a bottle short, so when I airlocked it, I shook the carboy to cause the wine to expel CO2, which displaces the air. I’ll rack in 2 weeks.
I tried a sample — the color is great and the aroma is definitely blackberry. The taste? For a bone dry, 2 week old fruit wine, it tastes great!
As much of a dry red drinker as I am, there’s NO way I won’t backsweeten this wine. Dry fruit wines are often astringent, and in general, lacking in fruit flavor. Even a small amount of backsweetening makes a tremendous difference in bringing out the fruit.
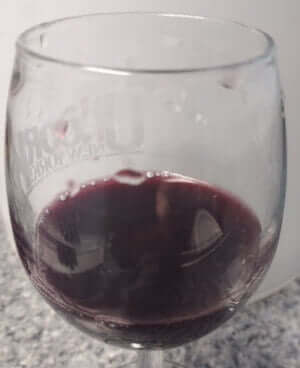
How much am I going to backsweeten this one?
I have zero idea. Both kits come with 2 sweetening packs, and feedback on WMT is that folks use 1-1/3 to 2 packs, and Jovimaple (WMT member) said the wine could be sweeter. She and her husband like sweet wines, so this illustrates the difference personal taste makes.
I lean towards dryer, but am currently thinking of splitting each wine — one will be off-dry, and the other half sweeter.
I followed the same protocol racking the Strawberry, although I racked it into the newly cleaned 7.9 gallon fermenter. I had plenty of room to stir with the drill-mounted stirring rod, but hand-stirred to keep parity.
A big difference is the carbon — the wine is very dark now — it’s got a bit of red to distinguish it from the Blackberry, but at first glance they are quite similar. We’ll see what 2 weeks brings, as the kieselsol and chitosan will strip out the carbon.
I tried a small sample — the aroma is a very strong strawberry, which is promising. The taste? It has carbon, so it’s impossible to judge at this point. However, I had great expectations.
The backsweetening will have to wait. I’m going to rack again in 2 weeks, then bulk age for 3 months. At that point I’ll decide how much sugar to add.
I’m going to go by taste — I’ll backsweeten until the acid and the sugar balance. I’m thinking I’ll bottle half at that point, then sweeten the remainder a bit more. I’m not worried about it now, and it’s entirely possible I’ll change my mind later on. Time will tell …
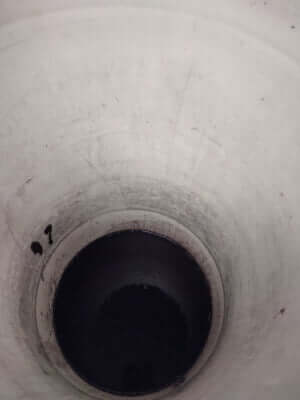
One thing about carbon? It stains the fermenter. Oddly enough, the stain is lower in the fermenter, as the picture shows.
I keep a scrubby pad that never touches cleaning chemicals, and use that to scrub my fermenters. The staining comes off easily. I also so my fermenters for 30 minutes full of hot water and 1 scoop Oxyclean. This removes most staining and anything organic.
When done, my fermenters are shiny and white!
10/05/2022
Today is bottling day! I was going to wait the full 6 months, but I need the carboys for the new grapes coming from California in a week or two. It doesn’t really make a lot of difference with these wines.
Both wines received a conditioning pack in June, and both still tasted tart afterward. That and feedback from WineMakingTalk predisposed me to accept that the wines may all of the second conditioning pack.
I started with the Strawberry, adding about half the pack and stirring it really well. Nope — still a bit too tart. Hmmm … I expected this. So I added half of the remainder (1/4 of the package) and tasted again. Nope still too tart. So I added the remainder, stirred well, and tasted.
Yup. That worked well. Some folks might like it sweeter, but it works for me.
I had enough clear Bordeaux bottles to bottle all but one, and used my single brown bottle for that one. I figure it may take a week or so to get labels printed, so while I’m labeling the cases with painter’s tape and a Sharpie, it helps to know what bottles I’m using.
I repeated the process with the Blackberry, and again added the full conditioning pack. It seems the acid level in the kits is designed for this much sugar.
This time I used green Bordeaux bottles, and again labeled the cases with painter’s tape and a Sharpie.
